Renovating a Home in Warren? Here's How to Handle the Debris
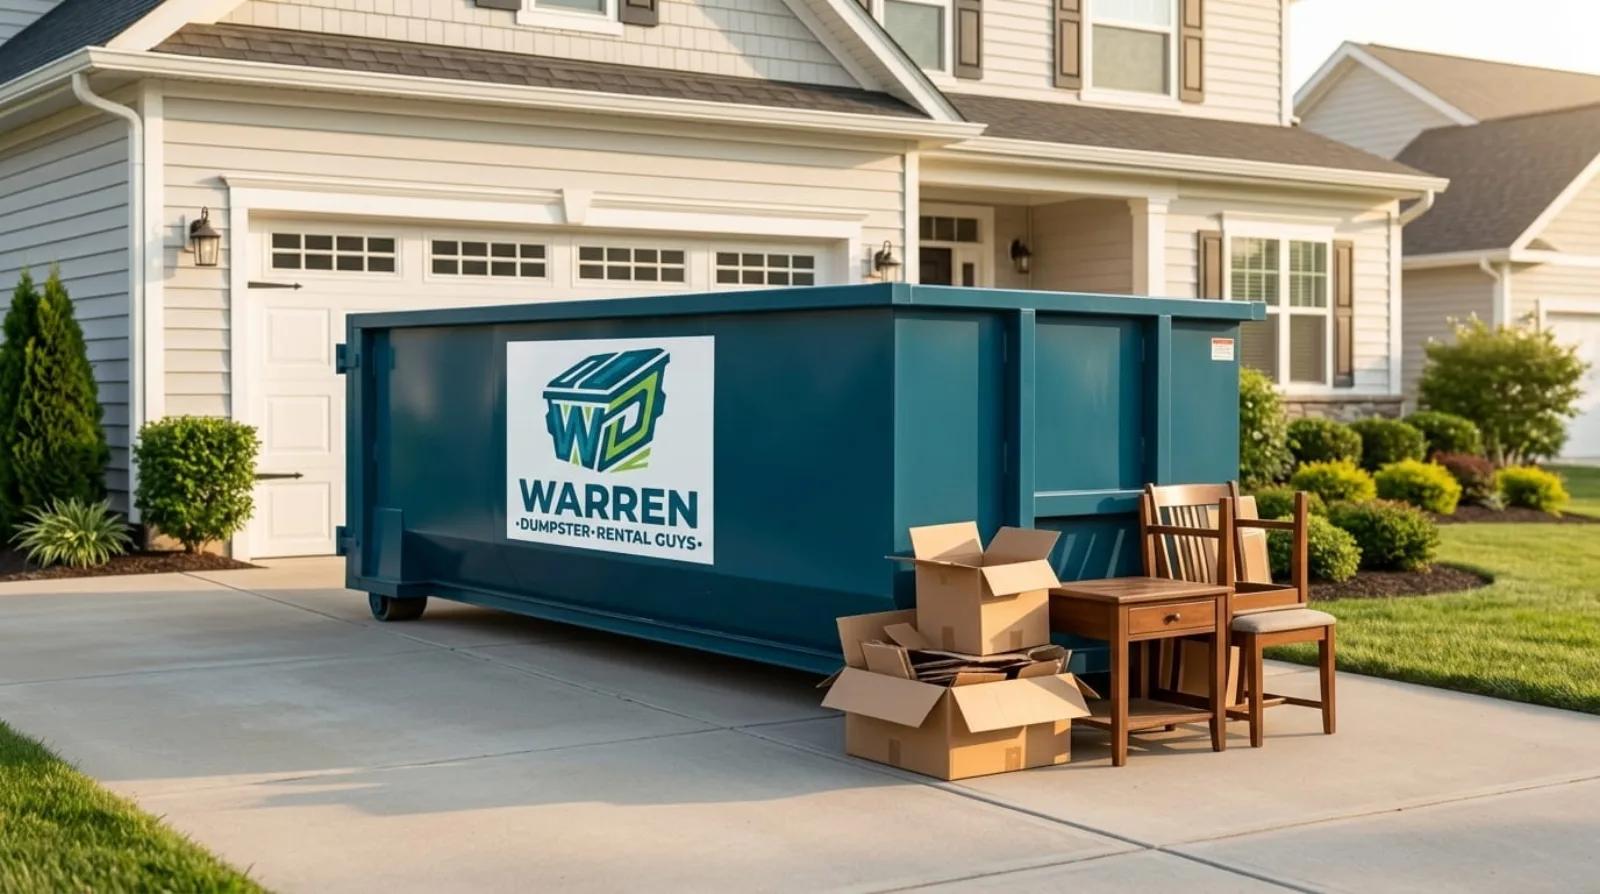
Every renovation generates two things: the beautiful finished result you're picturing, and a surprising mountain of debris getting there. Most homeowners plan meticulously for the first and give almost no thought to the second — until demolition day, when the drywall, old cabinets, and torn-out flooring start stacking up faster than anyone expected. Debris management is the unglamorous half of a remodel, and handling it well is the difference between a project that flows and one that stalls in a pile of rubble.
Warren's housing stock — those solid post-war brick ranches and bungalows — is a renovation favorite precisely because the bones are good and the projects are worth doing. But those same older homes hide dense, heavy material behind the walls. Here's a start-to-finish plan for managing the mess, tuned to the kinds of homes we work around every day.
Start with an honest debris estimate
Before you touch a sledgehammer, walk the project and picture what's coming out. A kitchen remodel isn't just cabinets — it's countertops, backsplash, flooring, appliances, and drywall. A bathroom is tile, fixtures, subfloor, and vanity. A basement finish adds paneling, dropped ceilings, carpet, and framing. Add it up honestly, because underestimating is how people end up with a bin that fills before the demo's half done.
This estimate drives your dumpster size. Our room-by-room sizing guide maps common projects to sizes, but the quick version: single rooms usually fit a 10 or 15, basements and multi-room jobs call for a 20, and whole-house or multi-phase renovations want a 30. If you're genuinely unsure, describe the scope on the phone and we'll size it for you.
Phase your demolition around the bin
The pros don't demo everything at once and hope it fits. They phase it. Tear out one area, load it, and if you're running a multi-room or whole-house job, plan a swap-out so a full bin never brings the crew to a halt. Sequencing demolition to match your dumpster's capacity keeps material moving and the work site walkable.
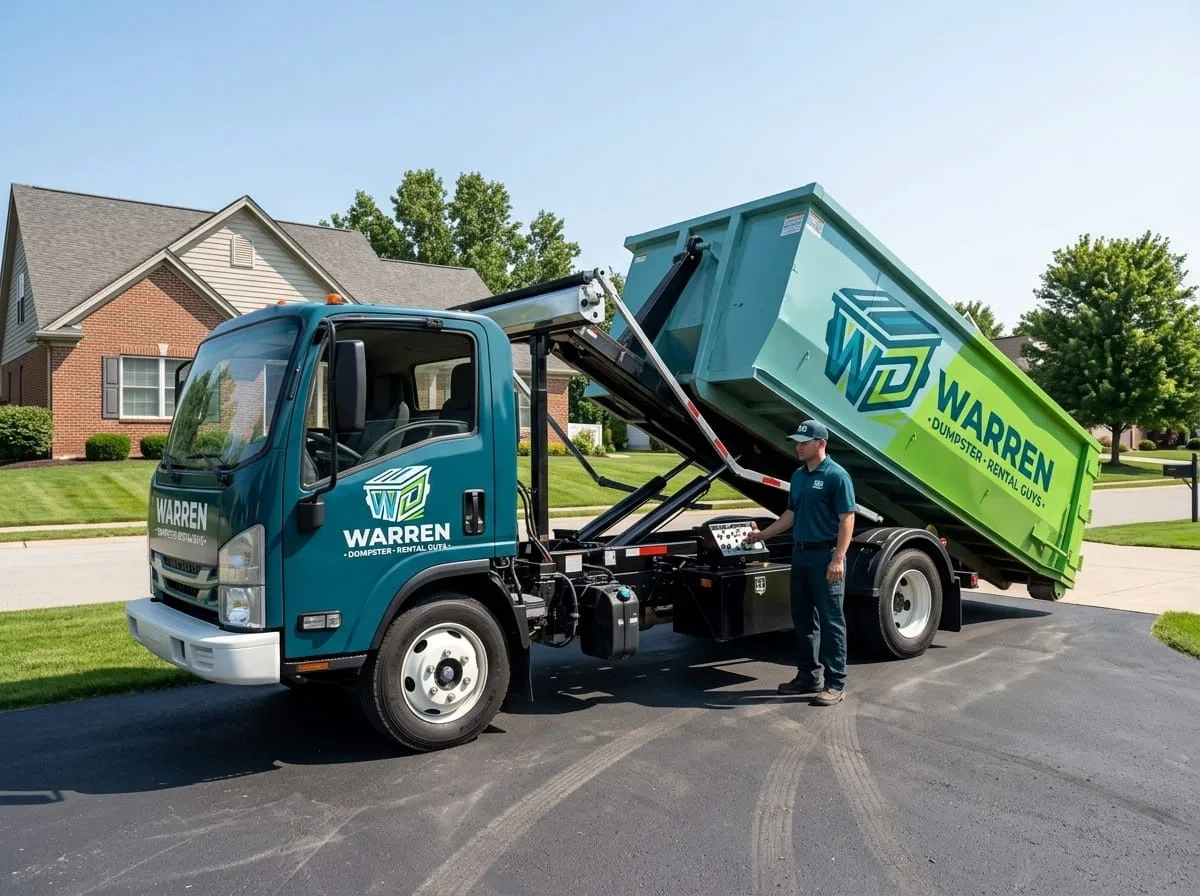
A practical rhythm for a bigger renovation looks like this: demo and load the first zone, call for a swap when the bin nears full, keep working the next zone while it's exchanged, and repeat. We coordinate swaps around your schedule, which is how larger jobs in places like Troy and Clinton Township stay on pace.
Multi-phase tip
For a whole-house renovation, it's often cheaper and cleaner to run one large bin with scheduled swaps than to guess at a single enormous container. You pay for what you actually fill, and the crew never waits on a full box.
Watch the weight in older Warren homes
Here's the trap specific to older housing. The plaster, lath, tile, and occasional masonry inside a mid-century Warren home are heavy — much denser than the drywall and modern materials in a newer build. That means the weight limit, not the volume, often becomes your ceiling. A bin can look half empty and already be at its tonnage cap.
The fix is counterintuitive: for demolition-heavy phases involving plaster or tile, a smaller bin loaded within its weight allowance usually beats a big one you can't legally haul. We size older-home renovations with this in mind, and it's a constant consideration in the vintage homes of Royal Oak and Ferndale too. When you tell us the home's age and what's coming out of the walls, we account for it in the size and the quote.
Protect your property during the project
A renovation is hard enough without collateral damage to your own driveway or landscaping. A few precautions:
- Driveway protection. On request we place boards under the dumpster's rails to spread the load. Warren's driveways generally handle roll-offs well, but boards add insurance on older or thinner concrete.
- Placement planning. Point out sprinkler heads, septic lines, low branches, and soft ground before delivery so the driver sets the bin clear of them.
- Access for the swap truck. Keep the path to the bin clear on pickup and swap days — no cars boxing it in.
Sort as you go
Not everything from a renovation belongs in the dumpster, and separating it as you demo saves hassle later. Metal — old ductwork, copper, aluminum, appliances — has scrap value and is worth setting aside. Anything on the prohibited list (paint, freon appliances, electronics) needs to go elsewhere; our guide to what can and can't go in a dumpster has the full breakdown. Sorting at the source beats digging through a full bin on pickup day.
Keep the site safe and workable
A tidy job site is a faster, safer job site. Sweep up nails and debris daily, keep walkways clear, and don't let loose material pile up outside the bin where it becomes a tripping hazard or blows into a neighbor's yard. On tighter Warren and Center Line lots especially, keeping the work contained keeps you on good terms with the folks next door — and keeps the project pleasant to work in.
Time the pickup to the finish
As the renovation wraps, you'll have a final wave of debris — packaging from new fixtures, offcuts, and the last of the demolition. Plan your dumpster window so the bin is still there for that final cleanup rather than gone a week early. Tell us your realistic end date and we'll set the rental period to cover the whole job, including the punch-list mess at the end.
The simple version
Estimate the debris honestly, size the bin to match (with weight in mind for older homes), phase your demo, protect your property, sort as you go, and time the pickup to the true finish. Do those things and the debris side of your renovation becomes a non-event — which is exactly what it should be.
Planning a remodel in Warren or nearby? Call (586) 438-3164 and we'll help you size the right bin, plan any swaps, and keep the debris out of your way from demo day to done. Proudly serving Warren and the surrounding communities.